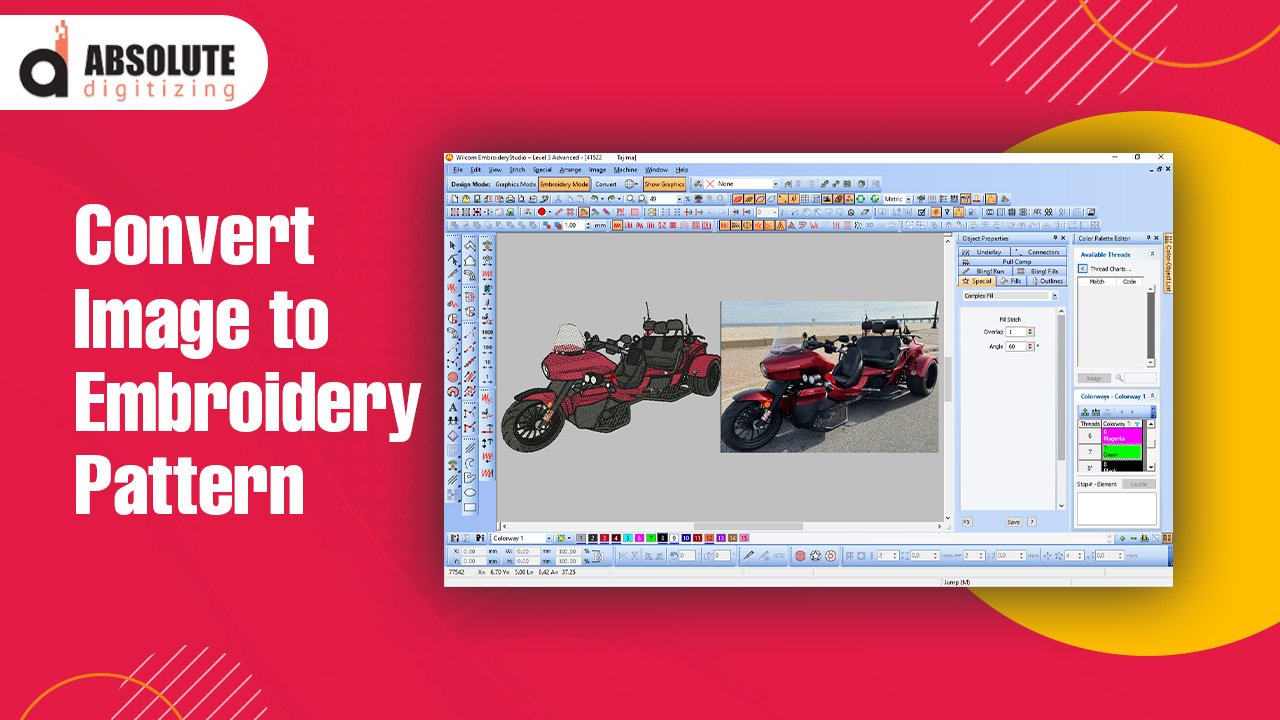
Converting an image to an embroidery file is a fascinating process that bridges the gap between digital creativity and tangible craftsmanship. Whether you’re an embroidery enthusiast or a professional designer, mastering this conversion can unlock endless possibilities for personalizing garments, accessories, and more. This guide dives deep into the steps, tools, and techniques needed to convert image to embroidery file.
What Does It Mean to Convert an Image to an Embroidery File?
Embroidery file conversion involves transforming a digital image, like a JPEG or PNG, into a stitch file readable by embroidery machines. This process, known as digitizing, ensures that the design is accurately translated into stitches, maintaining the image’s integrity while accounting for fabric type and thread.
The Importance of Proper Conversion
- Precision: Accurate digitization ensures the design retains its original details.
- Efficiency: Well-digitized files minimize machine errors and stitching time.
- Professional Results: High-quality embroidery files produce clean, polished finishes.
Common File Types for Embroidery
- DST (Tajima): A widely used format compatible with most embroidery machines.
- PES (Brother): Popular among Brother embroidery machine users.
- EXP (Melco): Another common format for professional use.
Steps to Convert an Image to an Embroidery File
1. Choose the Right Image
Selecting the right image is the first step toward successful conversion.
- Simple Designs: Start with simple shapes and limited colors to avoid complications during stitching.
- High Resolution: Ensure the image is high-quality to capture intricate details.
- Contrast: Opt for images with clear contrasts to make digitizing easier.
2. Use Specialized Software
Embroidery digitizing requires software that translates images into stitch files.
- Popular Options: Tools like Wilcom, Hatch, and Embrilliance offer robust digitizing features.
- Functionality: Look for software that supports stitch type customization and preview options.
- User-Friendly: Choose software that matches your skill level, whether you’re a beginner or advanced user.
3. Digitize the Design
The digitizing process involves:
- Uploading the Image: Import the selected image into the digitizing software.
- Tracing the Design: Outline key elements of the image to define stitch areas.
- Assigning Stitch Types: Choose between satin, fill, or run stitches based on the design’s complexity.
- Adjusting Stitch Density: Modify the density to suit the fabric and desired appearance.
4. Save and Export the File
Once the digitizing process is complete, save the design in the appropriate format compatible with your embroidery machine.
Tips for Perfect Stitching
1. Understand Fabric Behavior
Different fabrics interact with stitches in unique ways. Understanding these interactions is crucial for achieving flawless results.
- Stable Fabrics: Cotton and polyester are ideal for beginners due to their stability.
- Stretchy Fabrics: Use stabilizers to prevent puckering on materials like jersey or spandex.
- Textured Fabrics: Adjust stitch density for materials like velvet or corduroy.
2. Choose the Right Thread
The thread is a critical component in embroidery, affecting the design’s appearance and durability.
- Material: Rayon and polyester threads are popular for their sheen and strength.
- Color Matching: Use threads that closely match the original image’s colors.
- Thread Weight: Opt for a thread weight that complements the fabric and design.
3. Test the Design
Testing your design on a sample fabric ensures it’s ready for final application.
- Trial Run: Stitch the design on scrap fabric to identify potential issues.
- Adjustments: Modify stitch density, thread tension, or design elements based on the test results.
- Final Approval: Once satisfied, proceed with stitching on the final garment.
Tools and Software for Image Conversion
1. Wilcom Embroidery Studio
Wilcom is a leading choice for professional digitizers, offering advanced features for intricate designs.
- Pros: Robust tools, wide format compatibility, and high precision.
- Cons: Steep learning curve for beginners.
- Best For: Professionals and experienced users.
2. Hatch Embroidery Software
Hatch combines user-friendly functionality with powerful features, making it a favorite among hobbyists and small businesses.
- Pros: Intuitive interface and affordable pricing.
- Cons: Limited advanced options compared to Wilcom.
- Best For: Beginners and intermediate users.
3. Embrilliance Essentials
Embrilliance caters to entry-level users with straightforward features for basic digitizing needs.
- Pros: Easy to learn and budget-friendly.
- Cons: Limited capabilities for complex designs.
- Best For: Casual users and embroidery enthusiasts.
Common Mistakes to Avoid
1. Ignoring Fabric Type
Overlooking the fabric’s properties can lead to issues like puckering, distortion, or thread breakage.
- Solution: Always test designs on the intended fabric and use appropriate stabilizers.
2. Overcomplicating Designs
Highly detailed images can be difficult to digitize and stitch accurately.
- Solution: Simplify designs by reducing unnecessary details and colors.
3. Skipping Quality Checks
Neglecting to test the design before final stitching can result in costly errors.
- Solution: Conduct a trial run and make necessary adjustments beforehand.
Advanced Techniques for Professional Results
1. 3D Puff Embroidery
3D puff embroidery adds dimension and texture to designs, making them stand out.
- Application: Ideal for bold text and logos.
- Technique: Use foam underlay to create raised stitches.
2. Appliqué
Appliqué involves layering fabric pieces to create intricate designs.
- Benefits: Reduces stitch count and adds unique textures.
- Process: Cut fabric shapes and secure them with embroidery stitches.
3. Gradient Fills
Gradient fills create a smooth transition between colors, enhancing the design’s visual appeal.
- Application: Suitable for artistic and abstract designs.
- Technique: Adjust stitch angles and densities to achieve the gradient effect.
Conclusion
Converting an image to an embroidery file is both an art and a science. By selecting the right tools, understanding fabric and thread properties, and following best practices, you can achieve stunning results every time. Whether you’re digitizing for personal projects or professional use, the key to success lies in preparation, precision, and practice. With these tips by Absolute Digitizing, your journey from image to embroidery masterpiece is sure to be a rewarding experience.


